- Home
- Instruments
- Gear
- Recording
- Lessons
- Reviews
- Blog

The rise of effects pedals has resulted in a need for a way to keep all one's pedals safe, secure and anchored in a way that prevents them from moving around. A solution for this problem comes in form of pedalboards.
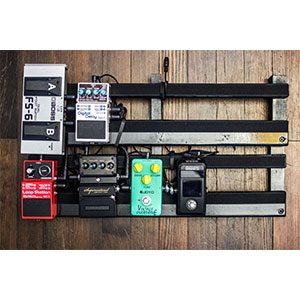
These simple devices are a platform where you attach all of your pedals, and a power supply, which ultimately allows you to use your effects easier when you need to. There is a whole market for pedalboards out there. They come in different sizes and shapes, they are made from different materials, and they cater to different gear setups. You can check out some of the best pedalboards currently on the market here.
However, not everyone is going to be using the same amount of pedals, nor will their pedals be the same size. This has prompted many people to design and build their own pedalboards. The home made ones are often times just as good as the commercial ones, and will give you the best possible performance since they are catered to your specific needs. Today we are going to talk about building pedalboards at home, and what you need to pay attention to.
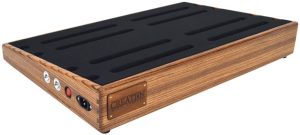
There are generally two materials that are mostly used when building a pedalboard. You have wood and metal. Which type of wood or metal you will choose depends on what you have available, but the goal is to get something that can withstand a lot of abuse. Naturally, wood is a lot easier to work with and requires less specialized tools.
On the other hand, metal is stronger but is more difficult to process. If you have the skills and tools, we definitely recommend you go with metal. Pedalboards are meant to be stepped on, which requires them to be strong enough to withstand a decent portion of your own weight. Wood is a more affordable option that can also be used to make pretty durable pedalboards.
 The hardware you are going to be using needs to be top quality stuff. All the bolts, corner guards or whatever you choose to install on your pedalboard have to withstand the type of use you have in mind. It's always recommended not to cheap out on this stuff as it will largely define how long your pedalboard will last you.
In terms of aesthetics, you can do just about anything you want. A lot of people choose to cover their pedalboards in some sort of material that will make it better looking. If you've never done something like this, don't worry it's pretty easy. All you need is the material you want to cover the pedalboard with and a stapler gun.
 When it comes to designing pedalboards, simple is always better. This is true especially if you're using wood to build yours. Designing a pedalboard that is simple allows you to have structurally sound joints on all sides that can withstand the abuse you are going to be dishing out during use. The top of the pedalboard is most often built under an angle since that allows for most comfortable use.
Another reason for an angled top panel is the fact that it creates enough space underneath for you to store a decently sized power supply. Speaking of which, it's a common trend to build power inputs on the pedalboard itself, and then connect that output to the power supply using a short cable. Including this feature makes it really easy to connect the board to a power outlet if your power supply isn't all that easy to reach. Installing your pedals on the pedalboard is most often done using strips of Velcro tape.
This is the easiest method and it requires almost no effort to build. On the other hand, you are building the pedalboard so you can use just about anything you want. However being able to detach pedals from the board easily is something you should aim for as it allows you to maintain your pedals without having to spend a lot of time disassembling and assembling your setup.
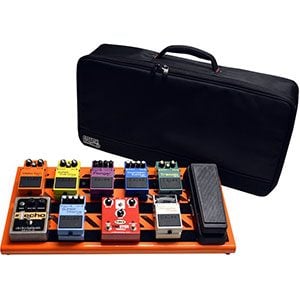
 One of the main issues with home made pedalboards is coming up with a case you will use to store and transport the whole thing. Commercial ones come with bags or cases, but finding one to fit your custom made pedalboard might prove to be a bit tricky. But it's definitely not impossible. You can use a case that was designed for a completely different piece of equipment and slightly modify it to fit your new pedalboard.
If that is not an option, you can always make a case of your own. This definitely increases the complexity and cost of the project, but it's very much worth the effort. The truth is that you simply need one. Having your pedalboard with all your pedals exposed defeats a good part of the purpose of even having a pedalboard. In all honestly finding or building a pedalboard case is probably the hardest part of this whole project.
Building your own pedalboard ensures that every pedal you own fits the way you want it to. Sure, it takes some time and skill, but chances are that the pedalboard you make will work better than most stuff you can buy in a store. Compatibility with your setup is not the only reason why a DIY project of this kind is a great idea. Building a pedalboard on your own can save you a decent amount of money as well. It's a fun little project that you can finish in a day or two at most, plus you retain all the bragging rights.

Reader Interactions